


Gorogoa is an elegant evolution of the puzzle genre, told through a beautifully hand-drawn story designed and illustrated by Jason Roberts.
UNIQUELY IMAGINATIVE PUZZLES
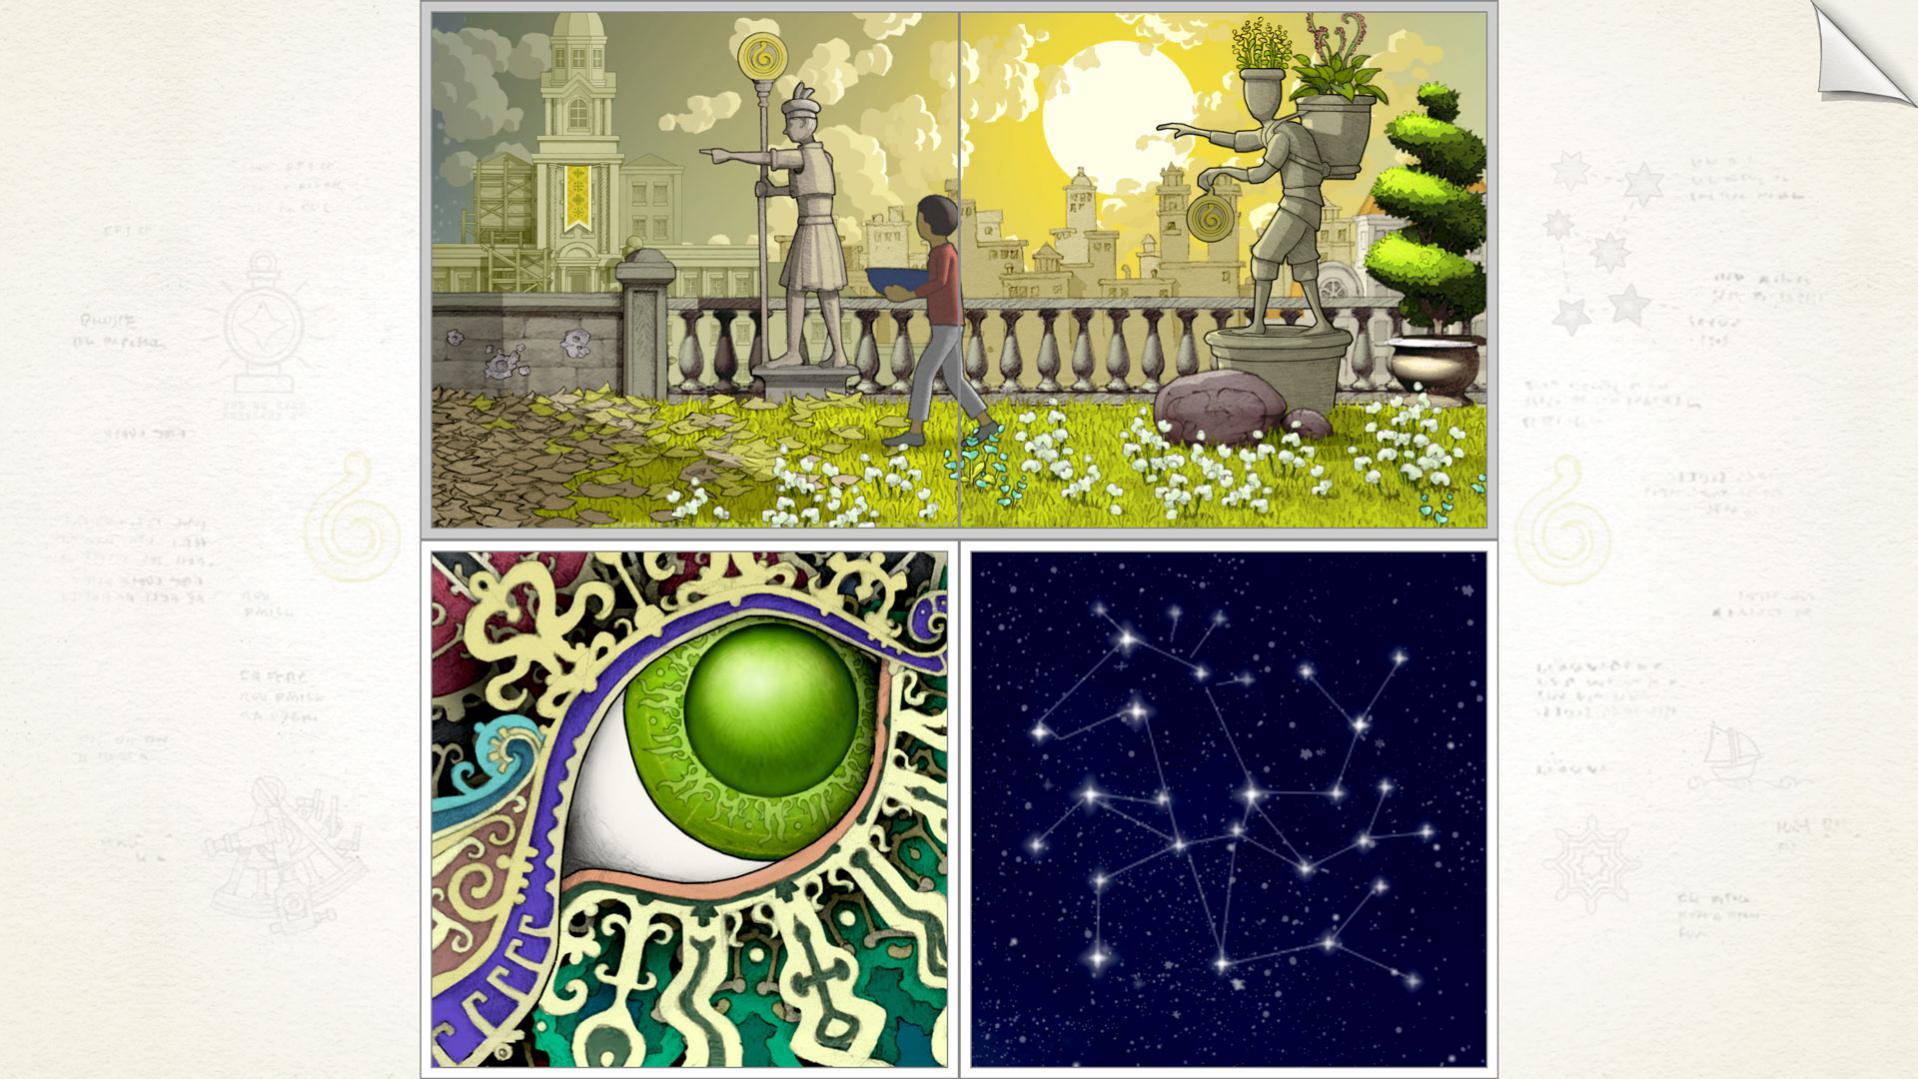
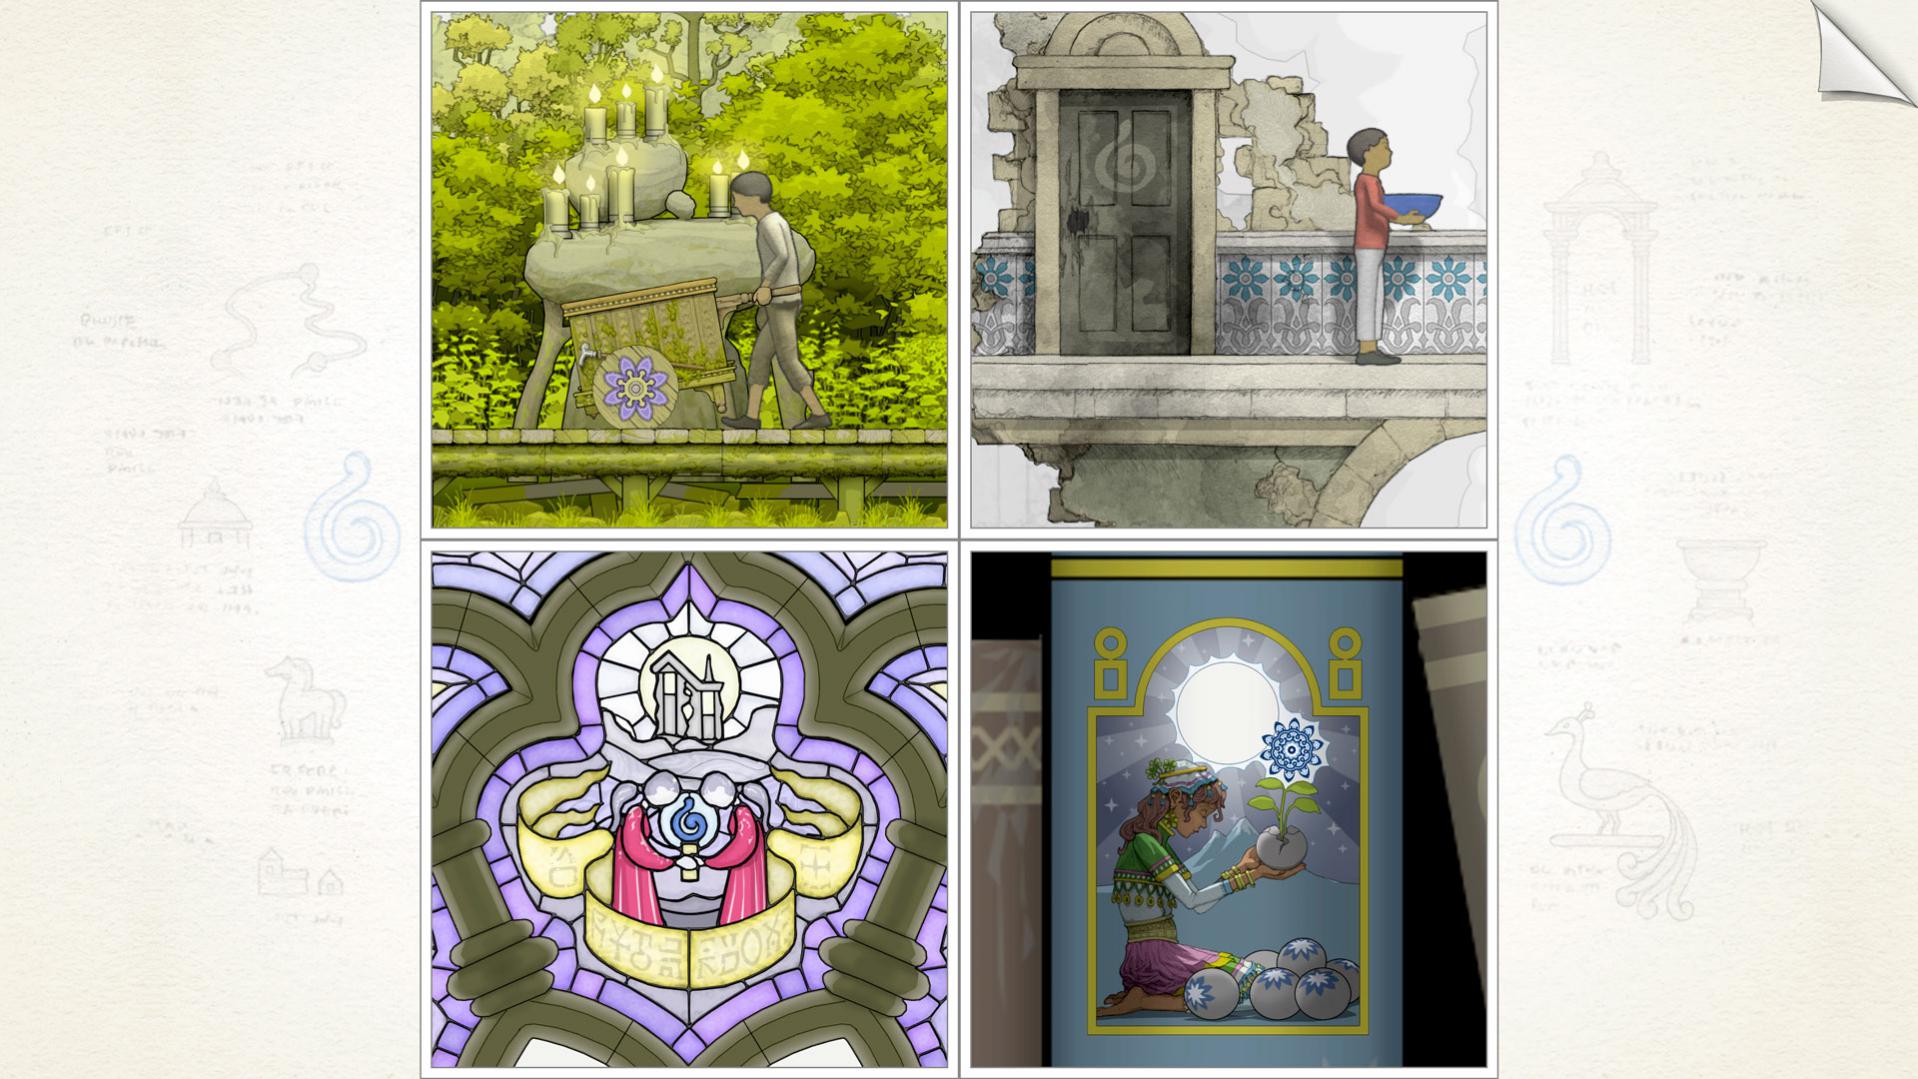
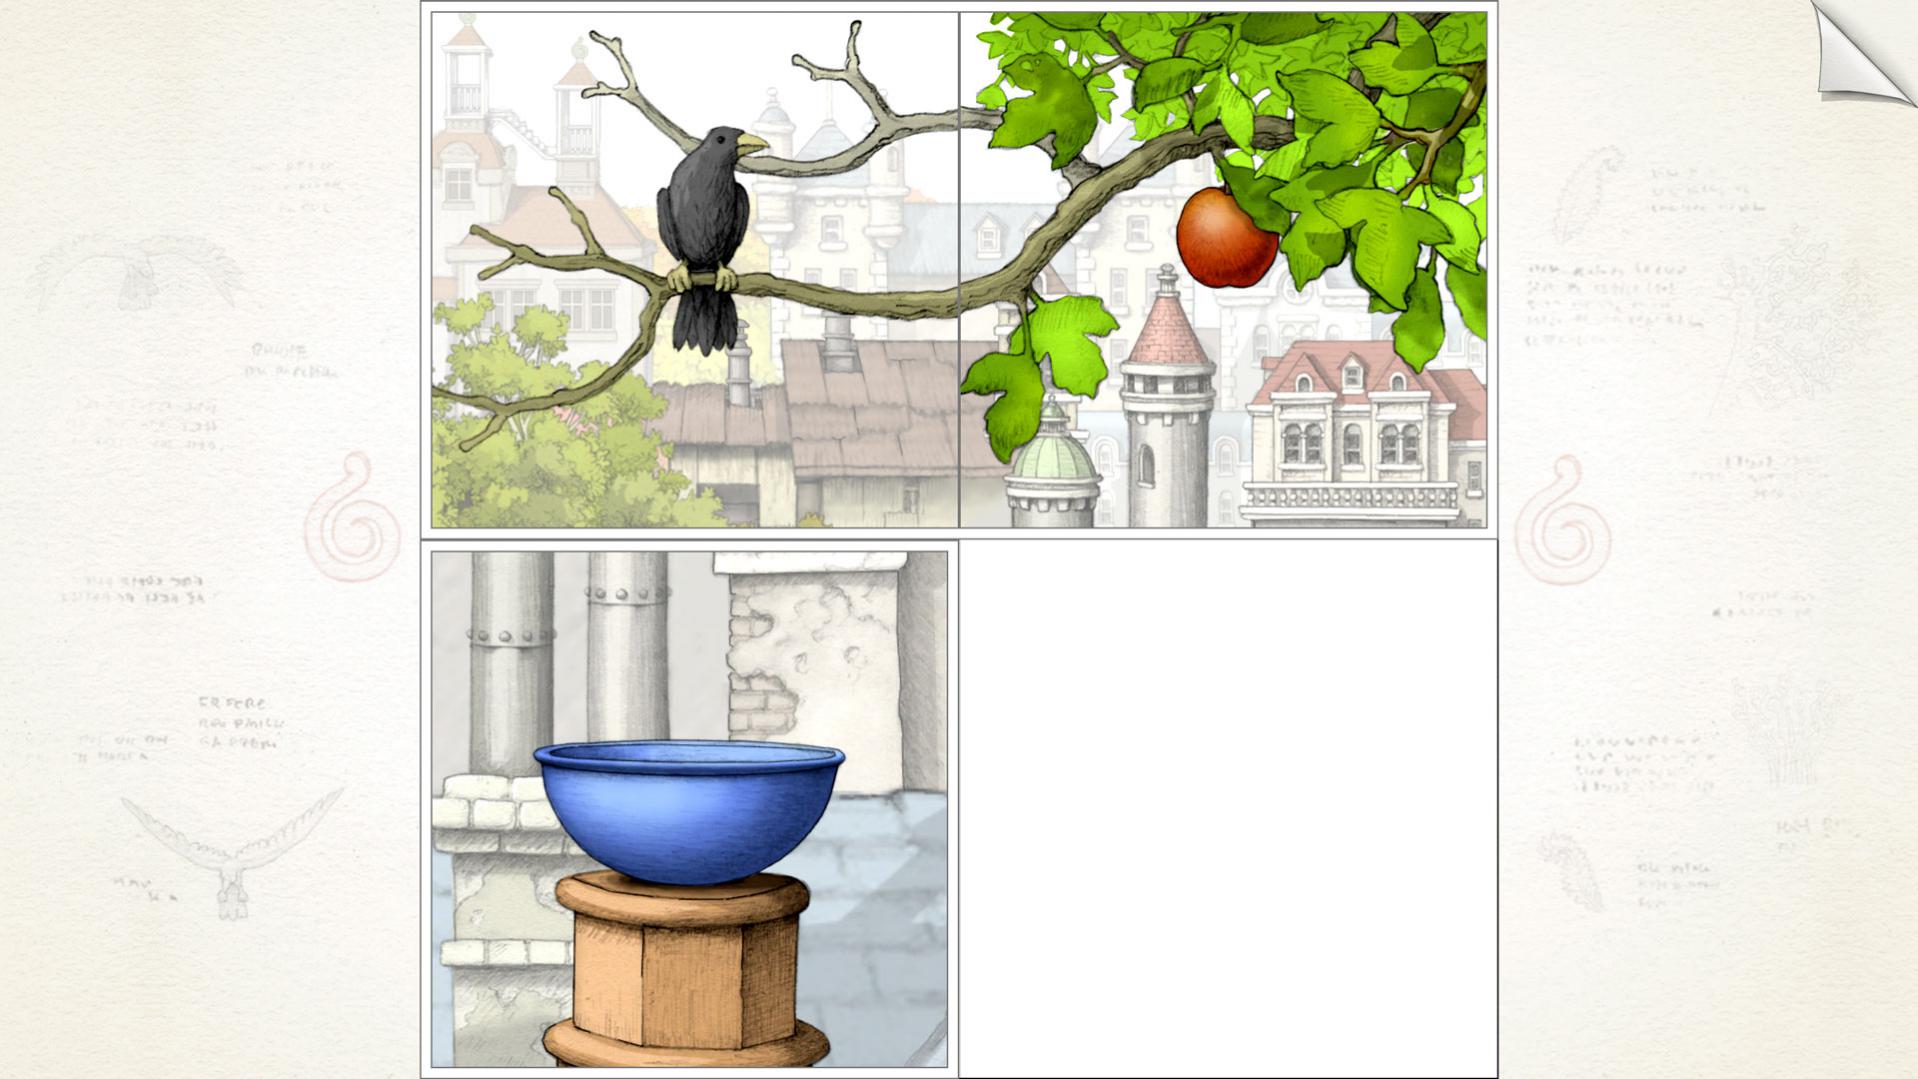
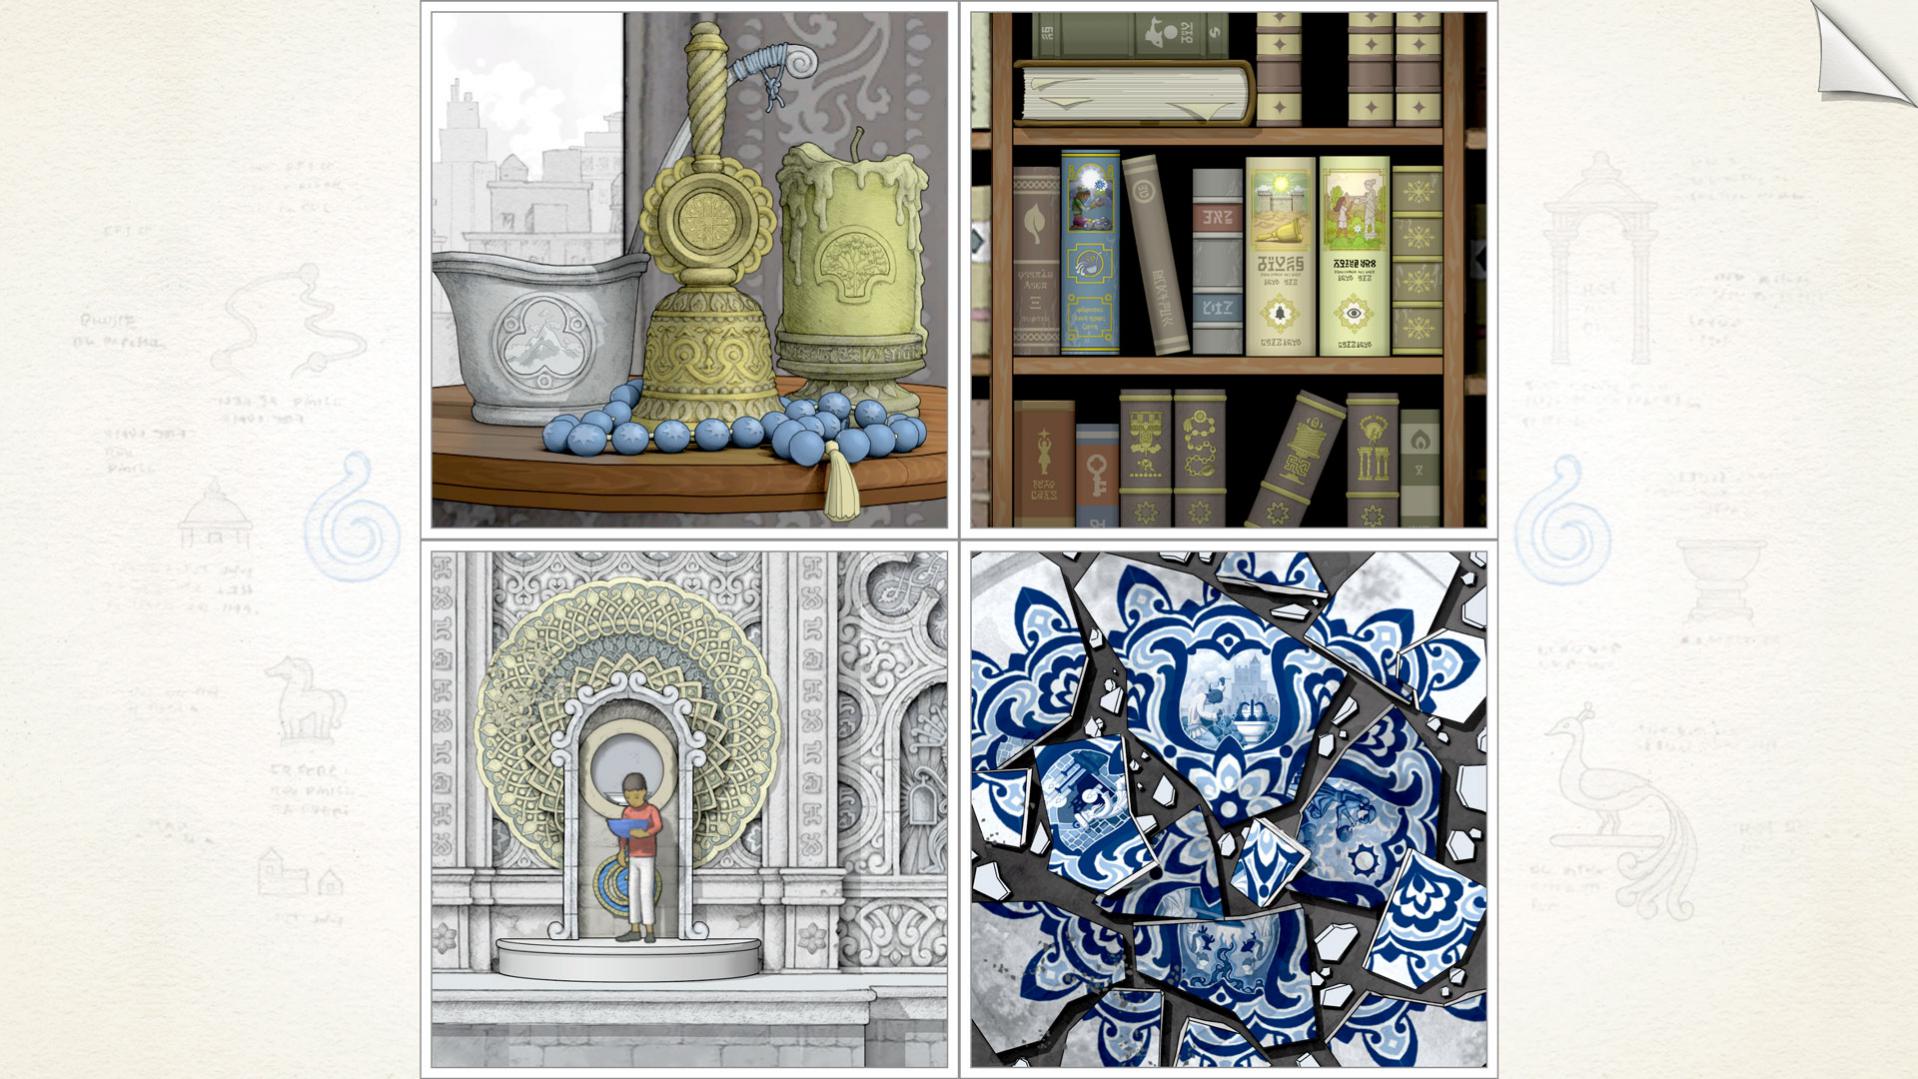
The gameplay of Gorogoa is wholly original, comprised of lavishly illustrated panels that players arrange and combine in imaginative ways to solve puzzles. Impeccably simple, yet satisfyingly complex.
GORGEOUSLY HAND-DRAWN GAMEPLAY
Jason Roberts created thousands of meticulously detailed hand-drawn illustrations, encompassing the impressive scope of Gorogoa's personal narrative.
A NEW KIND OF STORYTELLING
Gorogoa isn't just a game - it's a work of art, expressing itself through soulful, charming illustrations and distinguished puzzle mechanics.


Every puzzle fan should have Gorogoa on their radar.IGN
If you haven't played it yet, prepare to be captivated.Eurogamer